Add images to a post
Choose a cover image, place images inside the content, and prepare light files so your website loads fast.
Updated October 9, 2026
Prepare images before uploading
- Use WebP or JPG. You can convert images to WebP for free with LaPage's converter.
- About 1600–1920px wide is enough for a cover image. Try to keep each image under 500KB.
- Give files meaningful names, such as
district-7-branch.webprather thanIMG_2034.jpg.
Cover image (heroImage)
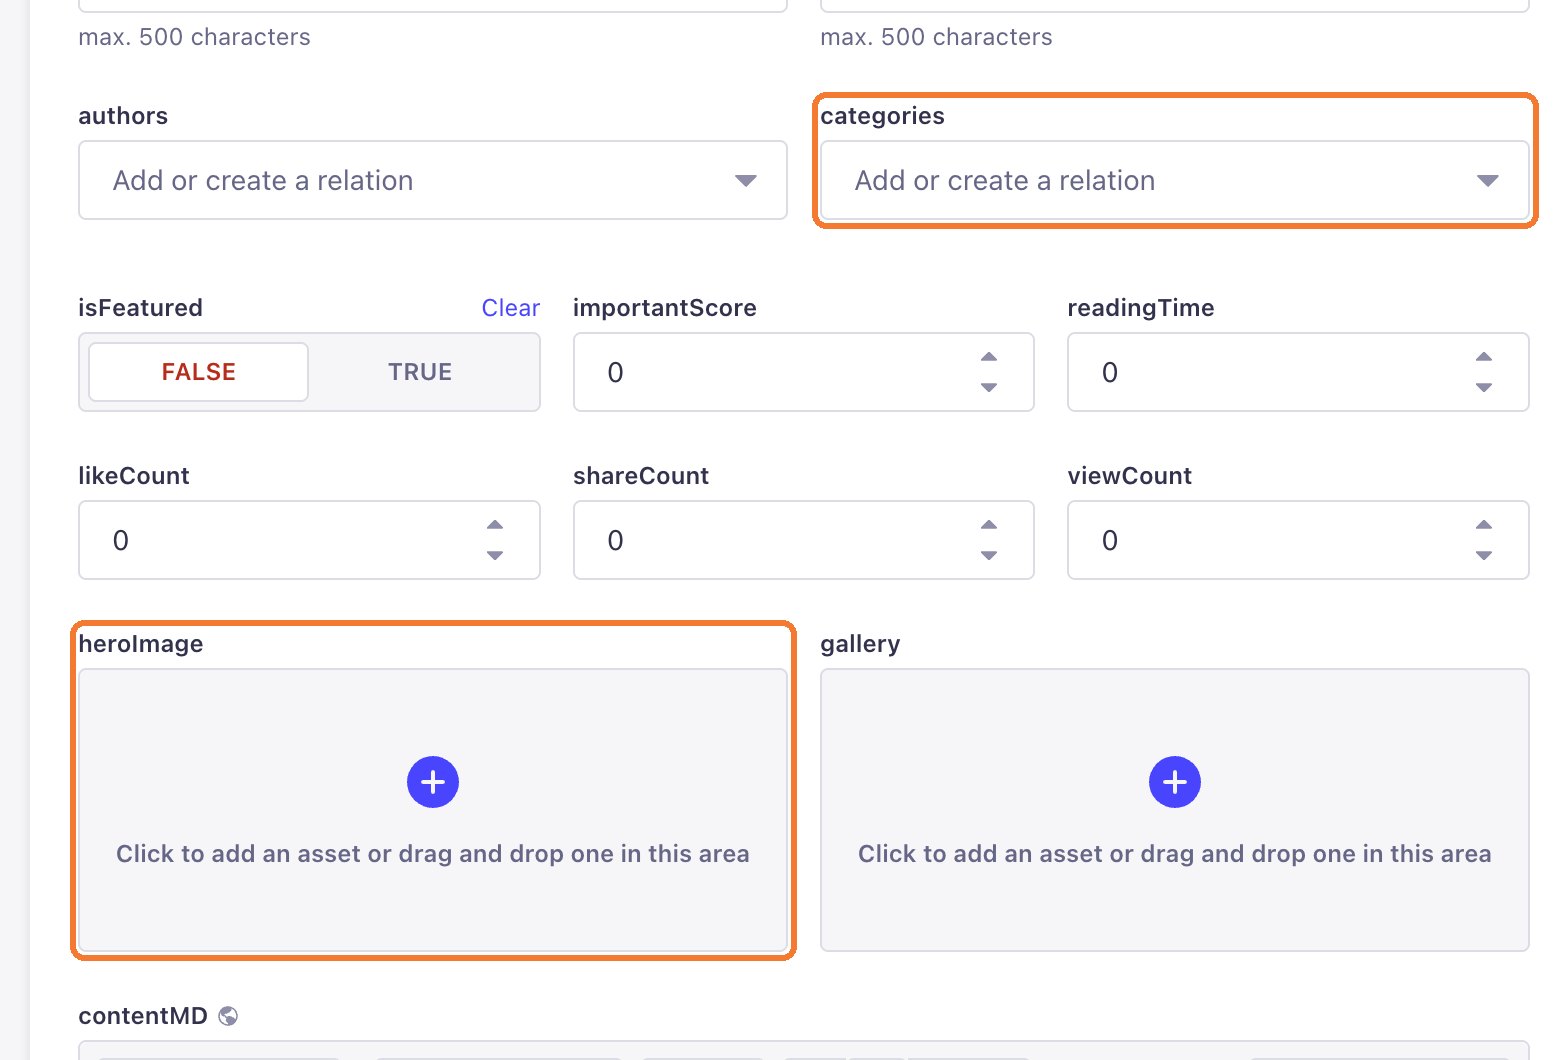
In the post, click the heroImage box.
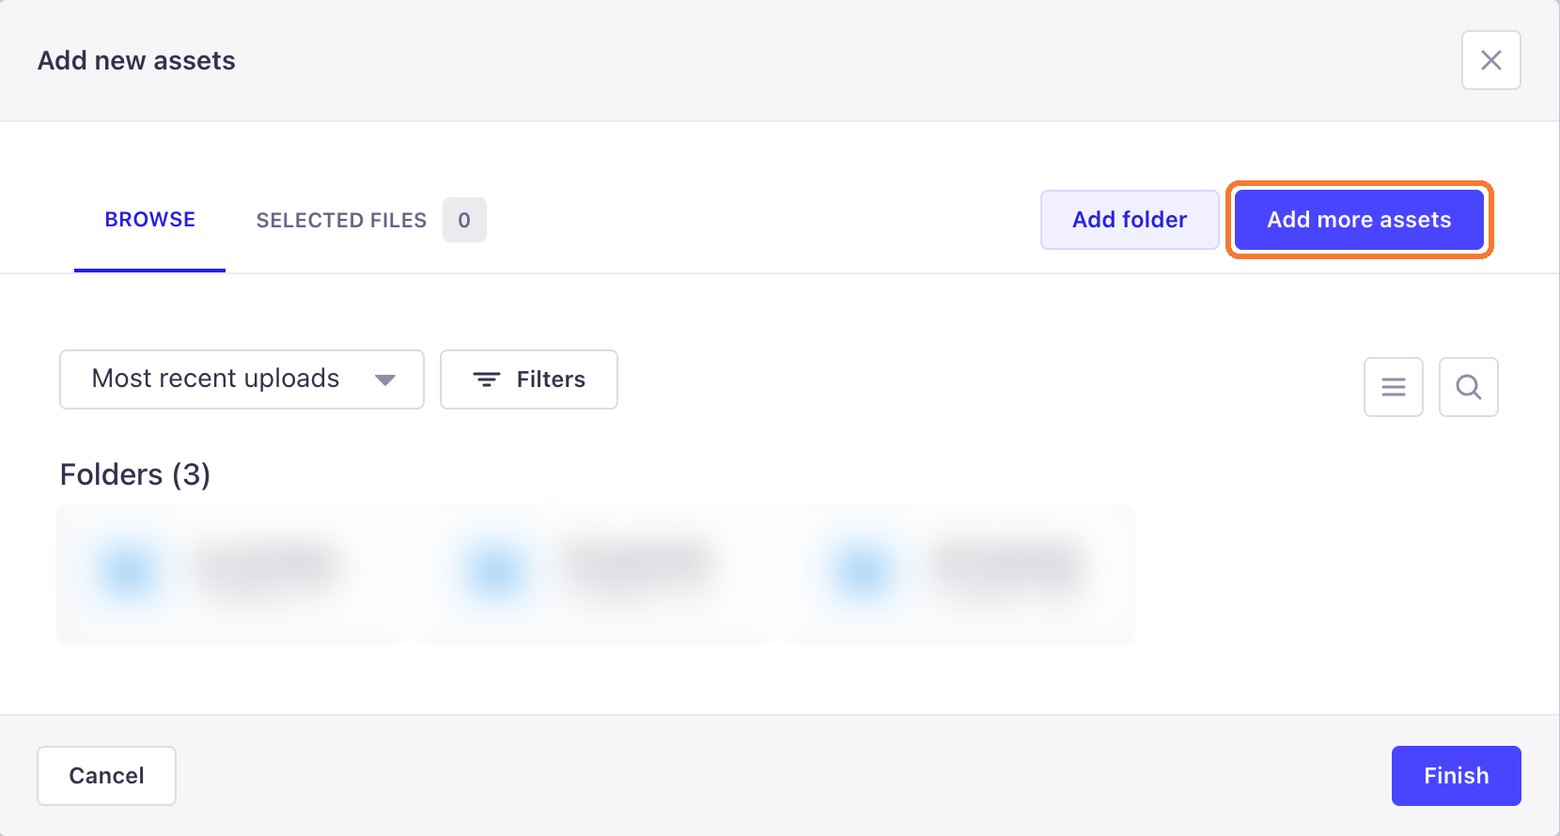
The Add new assets window opens. Click Add more assets to upload from your computer, or pick an image already in the library, then click Finish.
Images inside the content
Place the cursor where the image should go in contentMD, click the image button in the toolbar, choose the image and click Finish. Click Preview mode to check.
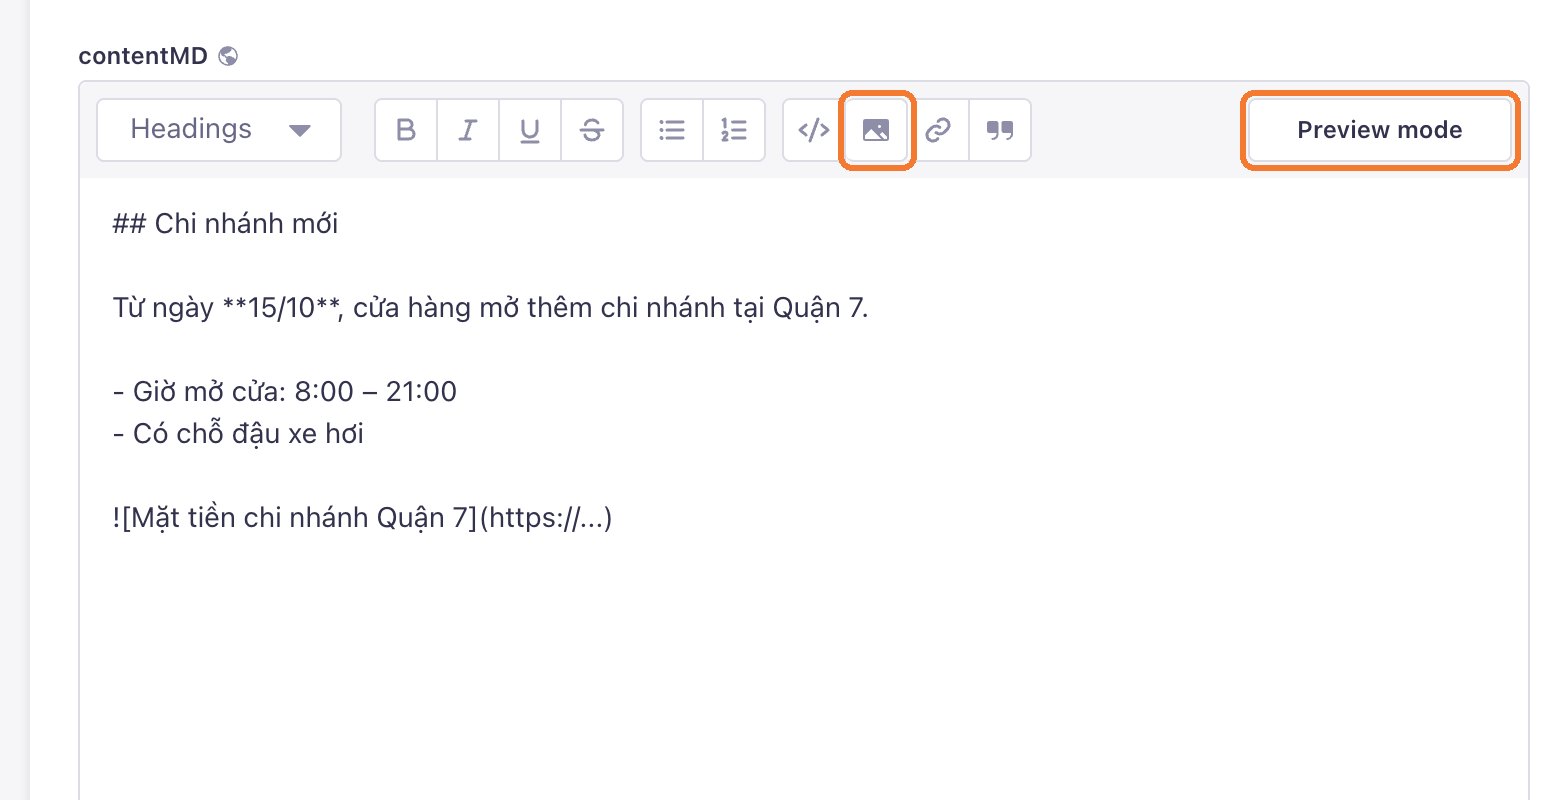
Image descriptions (alt text)
Open the Media Library, click the image and fill in Alternative text with a short description, for example "Front of the District 7 branch". Google reads it, and so do screen readers.
Still need help
Can't find the answer?
Message LaPage on Zalo with what you are trying to do and a screenshot if you have one. We will walk you through it step by step.